I feel at this point that I do not have enough unfinished projects so I've started yet another.
I've never played WHB or owned an army, but I had always planned to dip the proverbial toe at some point. Now that it has been replaced by Age of Sigmar (which I have no experience of either) I have decided to spend a bit of money with Mantic and Kings of War instead.
I managed to procure a Mhorgoth Rising starter set before they went OOP and I also picked up a 2nd Edition rulebook from Twisted Pinnacle.
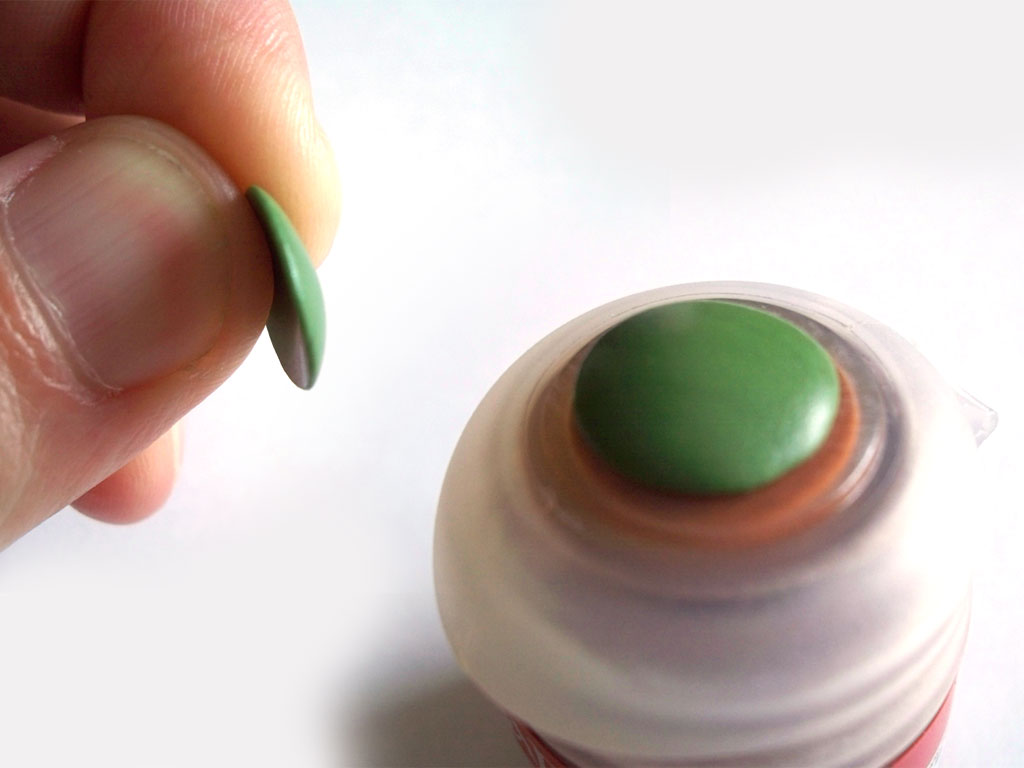
Before I've even finished glueing and started painting I decided to start work on some terrain peices, this is the beginning of the first.
Constructed entirely from recycled mounting board, cereal packets and coffee stirrers.
Ramblings of a toy soldier collector who's old enough to know better.
Popular Subjects
Green Stuff
Sci-fi
Napoleonic
plastic
sculpting
WIP
materials
1/48
Waterloo
French
conversion
28mm
1/72
paper
1/32
40k
papercraft
Airfix
Marvel
Space Marines
Superhero
kids
British
Italeri
Wifey
Spaceship
Star Wars
Esci
Hasbro
Terrain
1/35
10mm
54mm
Fantasy
Full Thrust
GZG
Victrix
ancients
play aids
1066
German
Naval
Paizo
Pathfinder
RPG
Saxon
WW2
board game
medieval
1/300
1/900
6mm
American
Brigade Models
Call to Arms
Chaos
Dirtside II
Hasslefree
Imperial Guard
Japanese
Kings of War
Mantic
Orks
Otherworld
Peninsular
Revell
Salute
Sharp Practice
Spanish
Stargrunt II
Viking
moulds
Showing posts with label WIP. Show all posts
Sunday, 22 November 2015
Beaky Marines update
I've got a few of the Rogue Trader marines finished now. In addition I kept some WIP shots of one of them.
Glueing and pinning stage.
After filling and finishing with Green Stuff a Grey undercoat is applied followed by Bestial Brown and Black (for any metals).
A beige is applied to the armour leaving gaps brown. The coating is intentionally patchy, this is just a base to improve the look of the yellow in the next stage.
I use three different washes at this stage (Nuln, Agrax andBaal Red) before chipping the armour with the tip of a fine brush in black and white/yellow before finally painting any icons or markings.
Thursday, 12 February 2015
Let the Wookie win!
Some more Star Wars goodness, I've started converting one of the Sandtroopers, a bit of simple Green Stuff work. A cape (possibly Jedi), a fur pelt (possibly Wookie). I'm imagining this Sandtrooper is a grizzled veteran of the 501st who kept the cape as a trophy after the battle of the Jedi Temple in ROTS, I may even give his armour some blue highlights to hint at this.
I've also finished painting one of my favourite characters,R2D2. Dirty and a bit worse for wear, this is definitely Tatooine Artoo.
Finally I was a bit concerned that my Wookie was a bit on the small side.
Drastic action was required.
A bit of pinning and glueing and he's looking a bit more like Chewbacca, I'll fill in the gaps and maybe even give him a makeover.
Finally he's towering over Han and the others as he should.
As the Green Stuff for the cape was so thin, it needed to be built up in sections.
A Grey undercoat always shows off the sculpted areas nicely
Still a work in progress.
I've also finished painting one of my favourite characters,R2D2. Dirty and a bit worse for wear, this is definitely Tatooine Artoo.
Finally I was a bit concerned that my Wookie was a bit on the small side.
Drastic action was required.
A bit of pinning and glueing and he's looking a bit more like Chewbacca, I'll fill in the gaps and maybe even give him a makeover.
Finally he's towering over Han and the others as he should.
Thursday, 13 September 2012
A paper evolution
The paper battalions have now evolved into a more flexible version that uses smaller blocks that can represent companies, sections or half sections for a 1-1 representation of a battalion. I've had a lot of input from the folks at TMP click here to see the lengthy discussion. My thanks for all their great suggestions.
I have made some final revisions to the soldier illustrations to reflect the individual companies with some command elements, Fusiliers, Grenadiers and Voltigeurs.
Individual blocks shown here, note labelling on the underside to show which company (they even have correctly coloured pom-poms if your printer is up to the task). Shown here is all six companies in line.
I have made some final revisions to the soldier illustrations to reflect the individual companies with some command elements, Fusiliers, Grenadiers and Voltigeurs.
Individual blocks shown here, note labelling on the underside to show which company (they even have correctly coloured pom-poms if your printer is up to the task). Shown here is all six companies in line.
Column by division in close order and in square.
I took the time to print four, six company battalions. This meant I could also represent a battalion in 1-1, every man represented (720 men).
Shown here as a column by division at section intervals. Then a column by peleton in close order. Then the whole battalion in line, which I just managed to fit on my A1 map of Waterloo pm.
Finally the battalion in square. Unfortunately the flag is not in the correct position, I may make a final tweak to include a flag party.
Here is the latest A4 that reflects the latest changes, all six companies per A4, the flag and an optional command front for the company of your choice.
A final note, I've noticed that blogger optimises any images uploaded to this blog, the final version will be at a much better resolution.
Tuesday, 11 September 2012
More paper army stuff
I've had a generous amount of feedback from the guys at TMP and using some of their suggestions I am making some new paper Napoleonics. I was interested to read that during the Napoleonic period wooden blocks with painted soldiers were used. The suggestion that arose a few times was to break the battalion into smaller blocks so that people can create the formations from a single set if company sized blocks.
I've done some initial reworking on the French and here is a quick preview.
New group that includes command elements.
I've done some initial reworking on the French and here is a quick preview.
New group that includes command elements.
Another suggestion was to place the soldiers on a balck background to make the uniforms more visible, shown here on a command block. This has a 30mm frontage, 3 ranks that are 15mm deep.
Finally here is the 6 company French battalion to print, complete with 3 Fusilier, 1 Voltigeur, 1 Grenadier and 1 command company.
I've also made a start on illustrating some cavalry with everyone agrees will be a more difficult unit to pull off.Tuesday, 17 April 2012
French Sapper - Victrix conversion
I bought some 1807-1812 Victrix French infantry a while back on a whim (like you do). I glued them all and was inevitably left with a box of bits. Since then I have received, as a birthday gift from the family, an opposing force of Perry British and a set of Too Fat Lardies 'Sharp Practice' Napoleonic Skirmish rules.
The game requires line troops and special characters or 'Big Men' as they are referred to in the rules. I've managed to create some French 'grand hommes' from the standard Victrix parts but had the urge to do a bit of converting using the very versatile hard plastic and Green Stuff.
Et Voila
French Big Man 'Marcel Savage', ready to give my British men brown trousers with his big chopper.
The axe was converted from a musket and a halberd top supplied with the kit, the point was cut and used to make the hammer side of the axe. The only part I was a bit unsure about was the combination axe head holder and cartridge box on the right-hand cross belt. I'm inclined to think it might have been more ceremonial than practical as carrying the axe on your back plus your pack may have been quite uncomfortable.
I'm also currently sculpting some original 95th 'Big Men' to accompany the four Perry plastic ones. More info soon.
Saturday, 7 April 2012
The fleet of the Bitbox Alliance
I've reading through the many pages on TMP of late and I've strayed into a few that I wouldn't normally consider 'my bag'. Specifically the Spaceship forum. Lots of cool pics of miniature spaceships. Eventually landed at Star Ranger where they review rules and chat generally about spaceship gaming. I downloaded the free Full Thrust rules and started to have a good read.
Now, despite the fact I have a number of unfinished projects on the go (haven't we all) I decided that spaceship games might be my bag after all. The rules provide some paper minis to have a quick game with. Not good enough, must have some minis, NOW! I've already exceeded my gaming budget of late with some Perry plastics and a copy of Sharp Practice so I needed an alternative source. Time to raid the bit box, we all have one, admit it. Mine is full of parts from 40k figures a few old Airfix kit parts and various other bits and pieces.
So I am proud to present my fleet of the Bitbox Alliance.
Now, despite the fact I have a number of unfinished projects on the go (haven't we all) I decided that spaceship games might be my bag after all. The rules provide some paper minis to have a quick game with. Not good enough, must have some minis, NOW! I've already exceeded my gaming budget of late with some Perry plastics and a copy of Sharp Practice so I needed an alternative source. Time to raid the bit box, we all have one, admit it. Mine is full of parts from 40k figures a few old Airfix kit parts and various other bits and pieces.
So I am proud to present my fleet of the Bitbox Alliance.
I've been aching to use all those bits for while now, the main hull shape are some old Airfix plane drop tanks and the rest is mainly 40k weapons.
Battlecruiser
Carrier
Cruiser
Frigate
I'll get these painted up soon and post more pics.
Monday, 27 June 2011
28mm Ironman Mk IV
Tuesday, 21 June 2011
28mm Captain America
Here is the finished 28mm Captain America sculpt. Please with the final product. After some great advice from some folks on the TMP message boards. I'm taking my time, using reference (character and muscle) and taking the time to get a better finish. Still lots of room for improvement, but I'll give myself a break as it's only my 3rd finished sculpt to date.
Sunday, 19 June 2011
28mm Marvels
I've chosen to sculpt some 28mm superheros next. Marvel universe, Hulk, Captain America, Ironman and a trio of Hydra agents. I've skipped the armature stage as I have nothing new to offer.
Hulk, Captain America and Ironman. My sculpts will be based on older designs for these characters, 80's ish (my teens).
Ironman from the waist down. The stripes on his boots etc were a real struggle, I think I used the wrong tool in haste.
Hulk, Captain America and Ironman. My sculpts will be based on older designs for these characters, 80's ish (my teens).
Hydra agents, with assault rifle, shoulder mounted heavy weapon and pistols respectively.
After making the armature I generally do rough feet to anchor the figure to the cork followed by pelvis and shoulders to strengthen the pose. The Hulk and Cap figures have the left over GS added. This was the end of the first application and I let the GS cure.
The Hulk is the most challenging as the amount of GS required makes it feel like a figure of a larger scale. I've found myself having to add small amounts at a time.
Cap gets his underwear on the outside of his tights (as it should be) and boots. I seem to be more comfortable working from the feet up, is this the best way to work? Only time will tell.At this point I have also crafted a shield by flattening a blob of GS over the top of a pot of Citadel colour.
Finally the three Hydra agents, an exercise in creating a uniform look, in the most literal sense.
Subscribe to:
Posts (Atom)